Reyna Abadilla
Digital Media 2


GIF AVATAR

Conclusion Questions:
1. Before starting, we practiced in Adobe Illustrator with the shape builder tool, which is a tool that gathers many shapes together to form one unified shape if you select the shapes and drag your mouse over the shapes you want to gather. To truly begin the project, we watched a few videos to understand how to build the face of our avatar in Adobe Illustrator. Mrs. Scorpiniti gave us a slideshow document to walk us through the process of creating our avatars. I found a photo in my camera roll that I liked and airdropped it to my computer, then copied and pasted said portrait into my project. I used the Eclipse Tool to form an eclipse/circle, and then dragged the widgets (a corner that you click and drag to alter the corners, making them smoother or sharper) of the circle upward to form an authentic shape of my face. I turned off the fill and then turned up the stroke number so that I could better see the outline then discarded it to the side. For my eyes, I used the eclipse tool again and turned off the fill as well as turning up the stroke. I discarded it upward, then traded my tool for the Pen Curvature Tool, which allowed me to outline my eyelids. I copied and pasted (command+c, command+v) the previous outline of my eye and turned on the fill for both, filling with the color white. To color my eyelids, I used the Eyedropper Tool (selects any color that your mouse is hovering over) on my face so that whatever color you see on my avatar represents the actual and authentic color of my eyelids. For the iris, I formed two eclipses for the colored of my eye and the pupil. To add more detail to my eye, I formed a star from my toolbar and clicked away to return to my Properties channel. I clicked onto fx and found the Distort & Transform under the drop down, which brought me then to Pucker and Bloat. I transfigured the star to appear sharp and diluted. I colored the star a lighter brown as I went back to my Properties channel again to fill. I copy and pasted said star and twisted it on it's side to add more color to my eye. I then selected and copy and pasted the iris and the pupil to gather and add it onto my latter eye. My nose took more time! To begin, I drew an outline of my nose with the Pen Curvature Tool and discarded it to the side. I then began to find parts of my nose where shadows fell or where light shone.
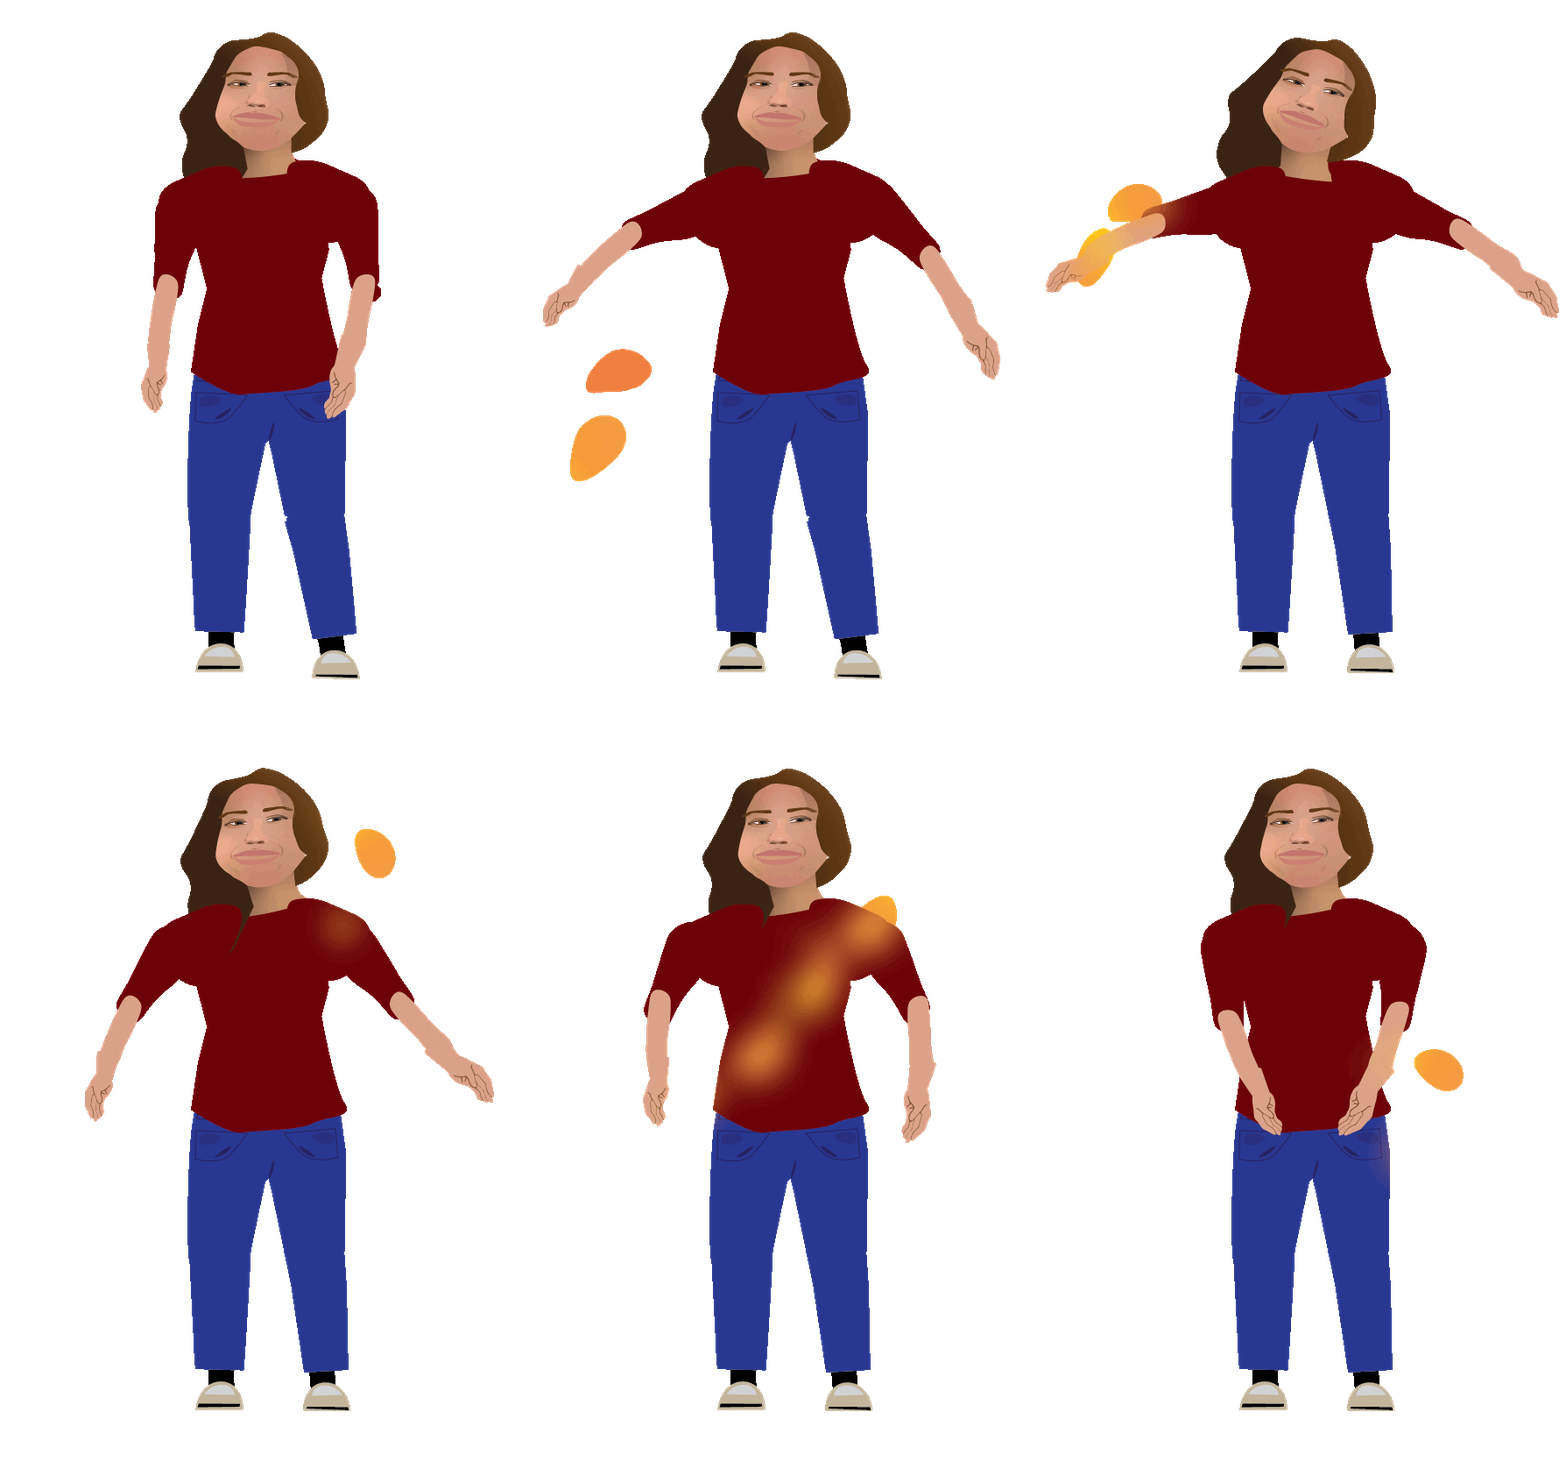
2. The hardest part of the project was to gradually move my limbs that would produce smoothly at the end of my project. If I could redo it, I would’ve spent more time being careful on moving my arms that it wouldn’t look rigid.
3. To give the impression of movement, I had to place my limbs where I wanted them to be, then copied and pasted the artboard by going to my Properties channel and clicking “Edit Artboards.” I clicked the command key on my computer and dragged it to the side with my mouse which would produce an exact copy of the latter artboard. I would gradually move my limbs until I would have to add another animation of the glowing orange that would wrap itself around my head and torso. Carefully as to not produce too much movement, I did my best to gradually move my limbs that would appear smooth.
4.I would’ve loved to spend more time on the animation of the Holy Spirit wrapping Himself around me, I also wanted to add a crown appearing on my head which would’ve represented Christ’s.